Blender 3.0 for Production – 2D & 3D Tracking Workflow
In this tutorial series, we will talk about Blender as a solution for 3D Camera and Object Tracking. Step by Step you will learn how to use Blender for preparing your footage in the Video Sequence Editor (VSE) and getting used to the Movie Clip Editor. Then we will cover the important fundamentals of 2D-Tracking in Blender and also some use-cases for directly using these data. Then we build upon these 2D-Tracks and start solving a 3D-Camera and talk about good and bad tracks, nodal shots, tricks like offset-tracking, joining of tracks, and analyzing solve problems. In the final tutorials, we will finish with Object-tracking for props replacement. After this tutorial series, you have a solid understanding of Blender’s Camera and Object Tracking and how to use the solved data inside of Blender or in other applications like Maya, Cinema, or Houdini.
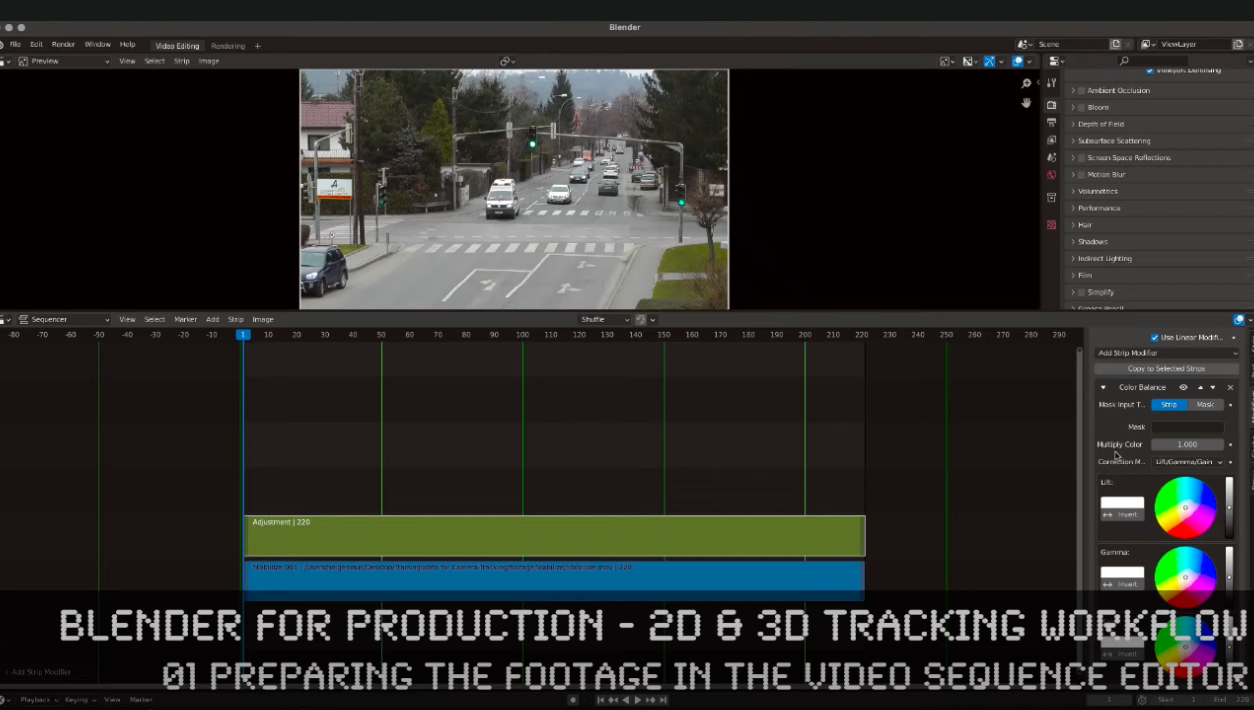
Blender 3.0 for Production – 2D & 3D Tracking Workflow – 01 Preparing Footage in the VSE
More Tutorials in the series “Blender 3.0 for Production – 2D & 3D Tracking Workflow”:
02 Overview of the Movie Clip Editor
03 Fundamentals of 2D-Tracking in Blender
04 2D-Stabilization & Compositing Workflow
04b Q&A – Matchmoving NUKE Rotos in Blender
06 Plane-Tracking, Corner Pin & Compositing
07 Join, Refine, Offset & Average Trackers
08 Fundamentals of 3D Camera Tracking